
Steps for creating a 360 tour with Thinglink
Creating a 360-degree photo tour is an excellent way for students to showcase their skills and what they've learned. By using an app like Thinglink, students can add interactive hotspots to their 360-degree photos, creating a media-rich experience to share with others. Before starting their tour, students need to plan carefully.
Taking photos and gathering supporting media
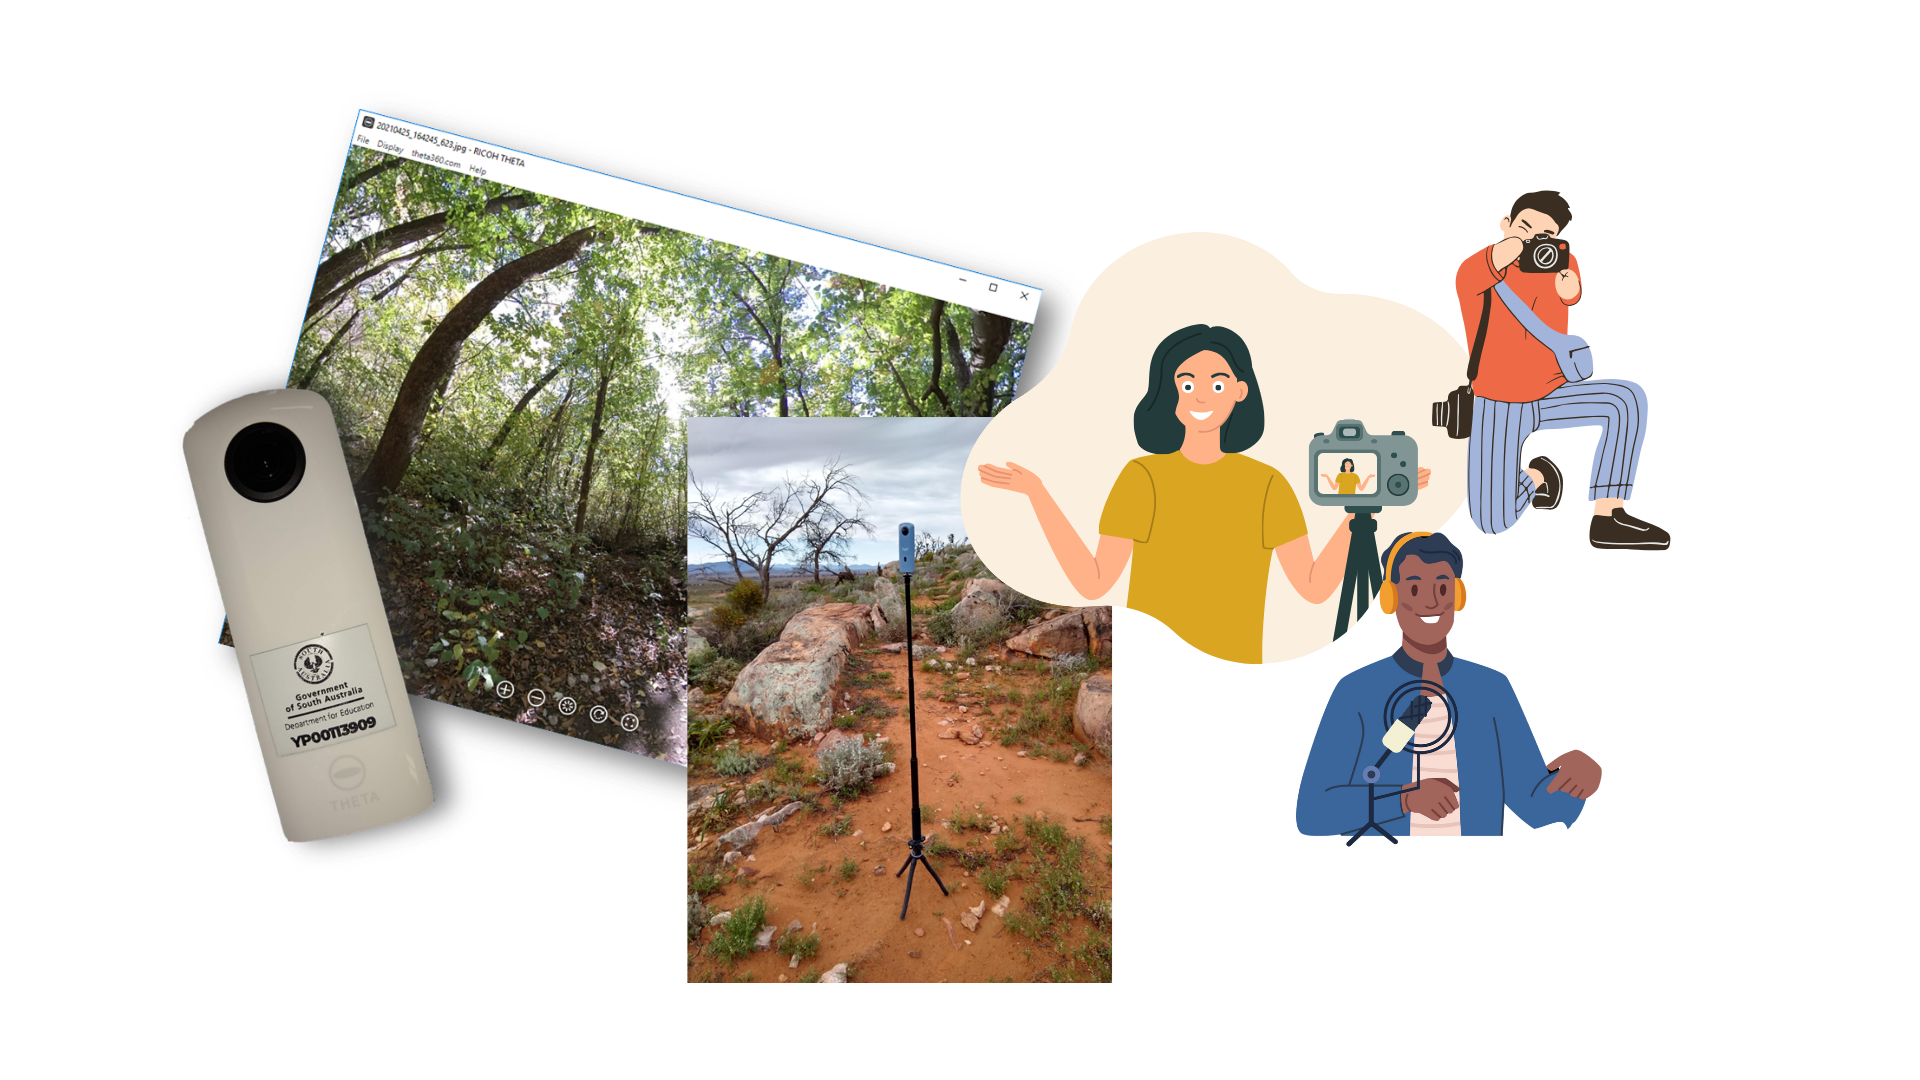
After planning, students need to take their photos. If you have enough 360-degree cameras, the whole class can participate. If cameras are limited, you'll need to schedule when students can use them. For more tips on taking 360-degree photos, see: Tips for taking 360 photos.
Uploading and editing photos and supporting media
Students should upload their materials to a device or a cloud service like OneDrive or Google Drive. They need to organise their media into folders, pairing each piece with the corresponding 360-degree photo. If they're adding text, they should type it in a Word or Google Doc first. This makes it easier to edit and later copy into Thinglink.
Uploading files to Thinglink
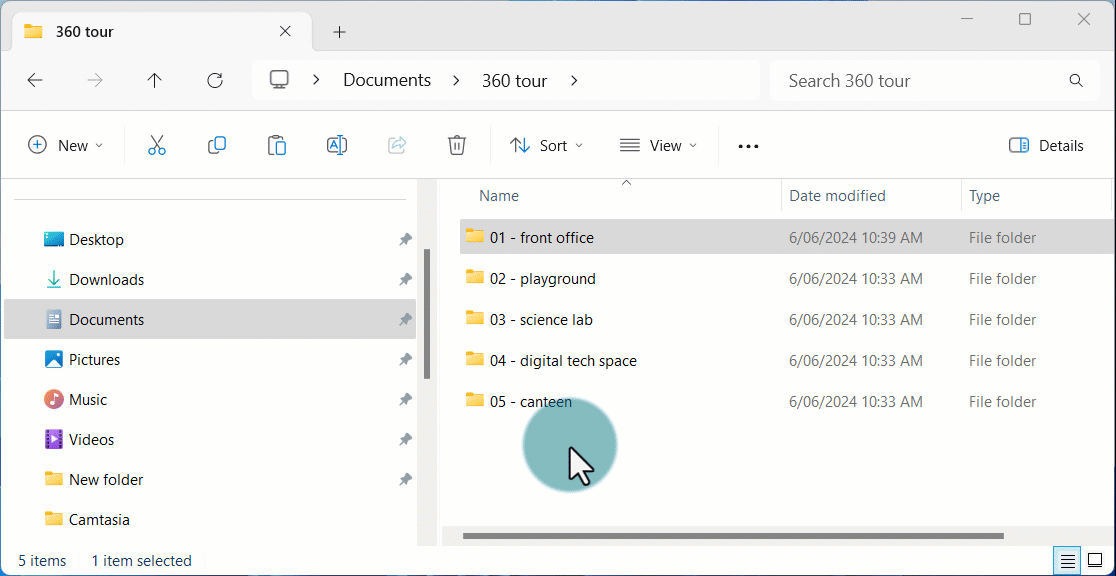
Once everything is organised, students can upload their images, audio and video to Thinglink. Depending on the work setup, you may need to create folders in Thinglink for student work. For setup tips, see: Setting up your class in Thinglink.
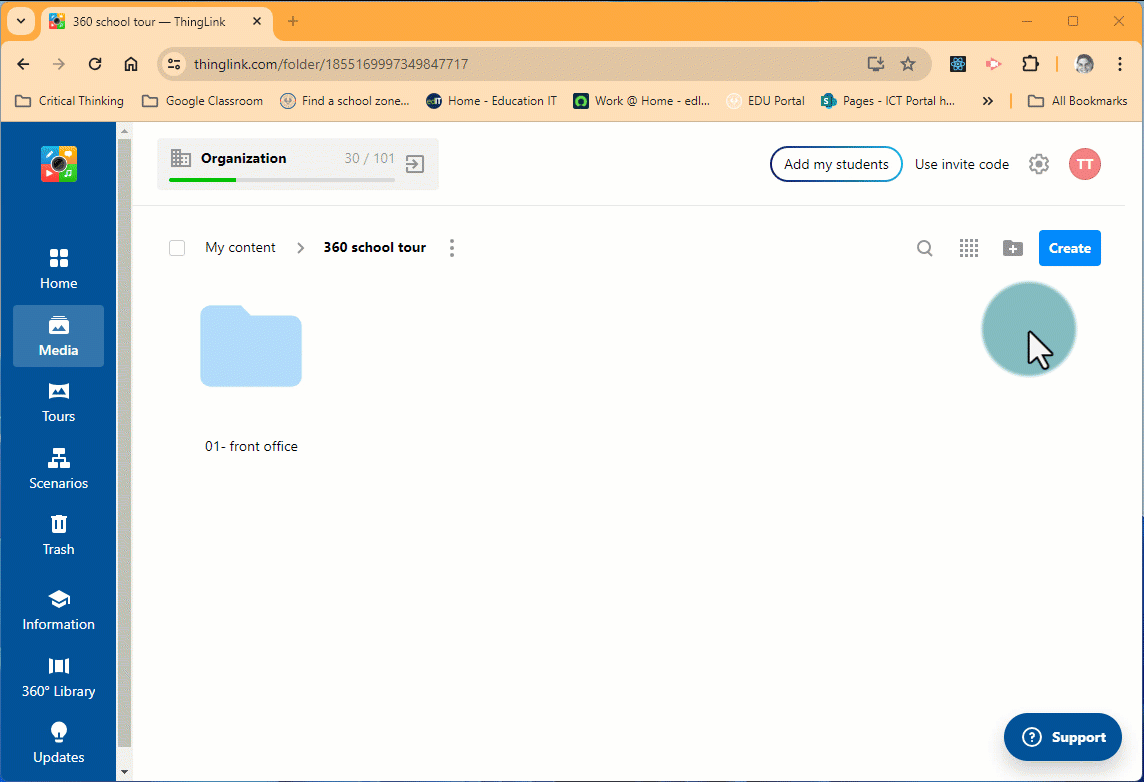
Students should create a folder for each 360-degree photo in their tour for easy access.
To add content:
- Open the relevant folder
- click Create
- select Mixed content
- select the content you would like to add
- drag the content into Thinglink.
Creating a tour
With all content uploaded, students can build their tours. They should decide on icons and colours to represent different types of content, like a green circle for a new 360-degree image or an 'i' for information. Creating a key helps keep icon use consistent.