
Using templates in Adobe Express
Adobe Express makes creating visually engaging resources easy. Pre-made templates and Educator Resources are available to help you reclaim some time. These resources are designed to be easily accessible, editable, and shareable, whether you're providing students with an electronic copy or exporting the materials.
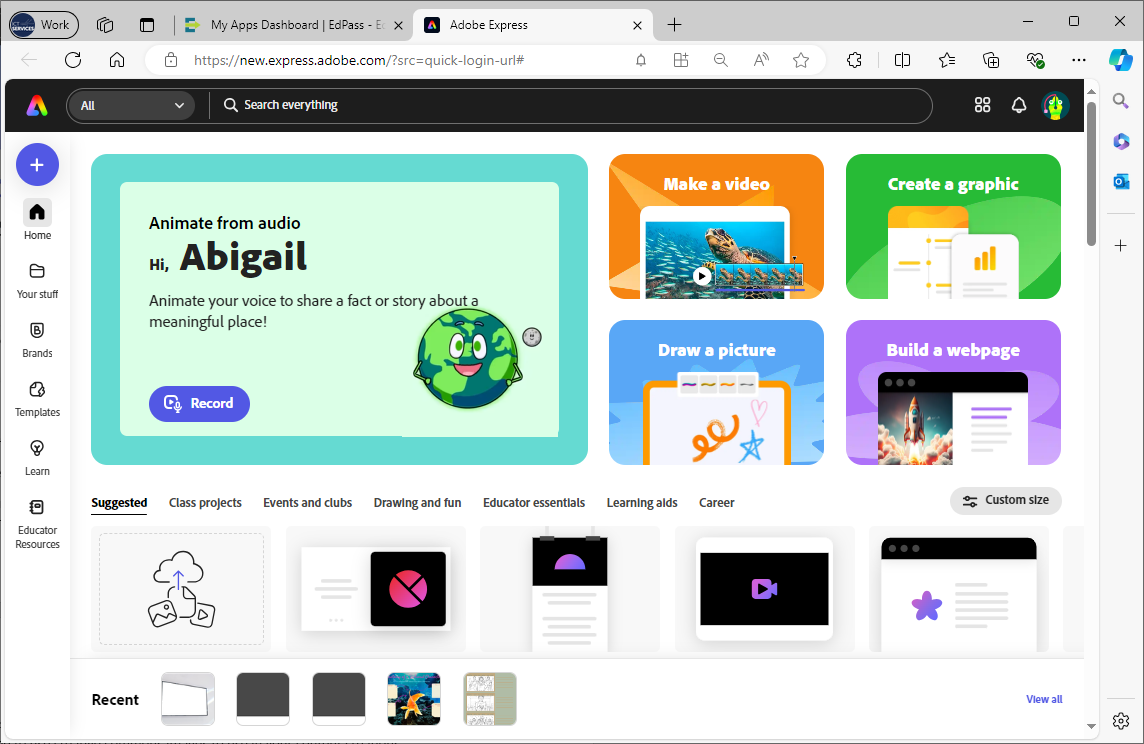
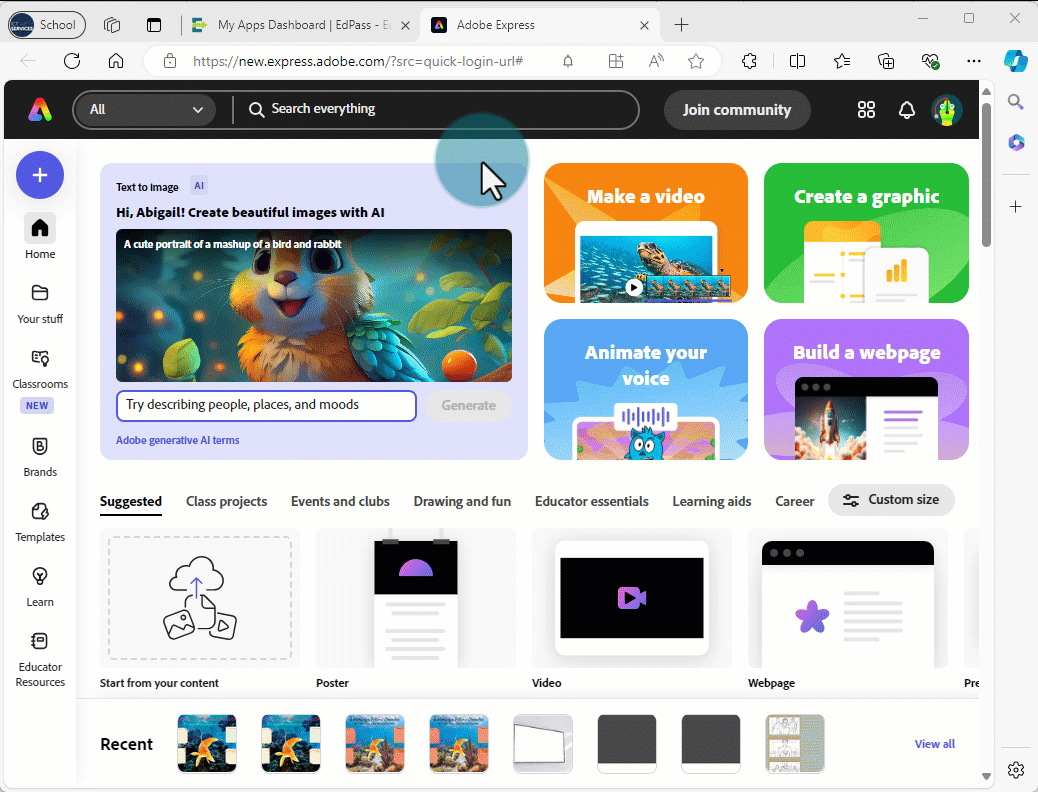
Finding templates and resources
Adobe Express is available, providing your school has an Adobe console and has assigned Adobe Express to staff and students. You will need to be logged on to access the links in this article. Pre-made templates and Educator Resources are accessible from the navigation menu on the left. Filters on the left side menu can sort templates by style, mood and type. You can also use the search bar for specific keywords. Adobe curates a selection of ‘Popular templates’ tailored for educators.
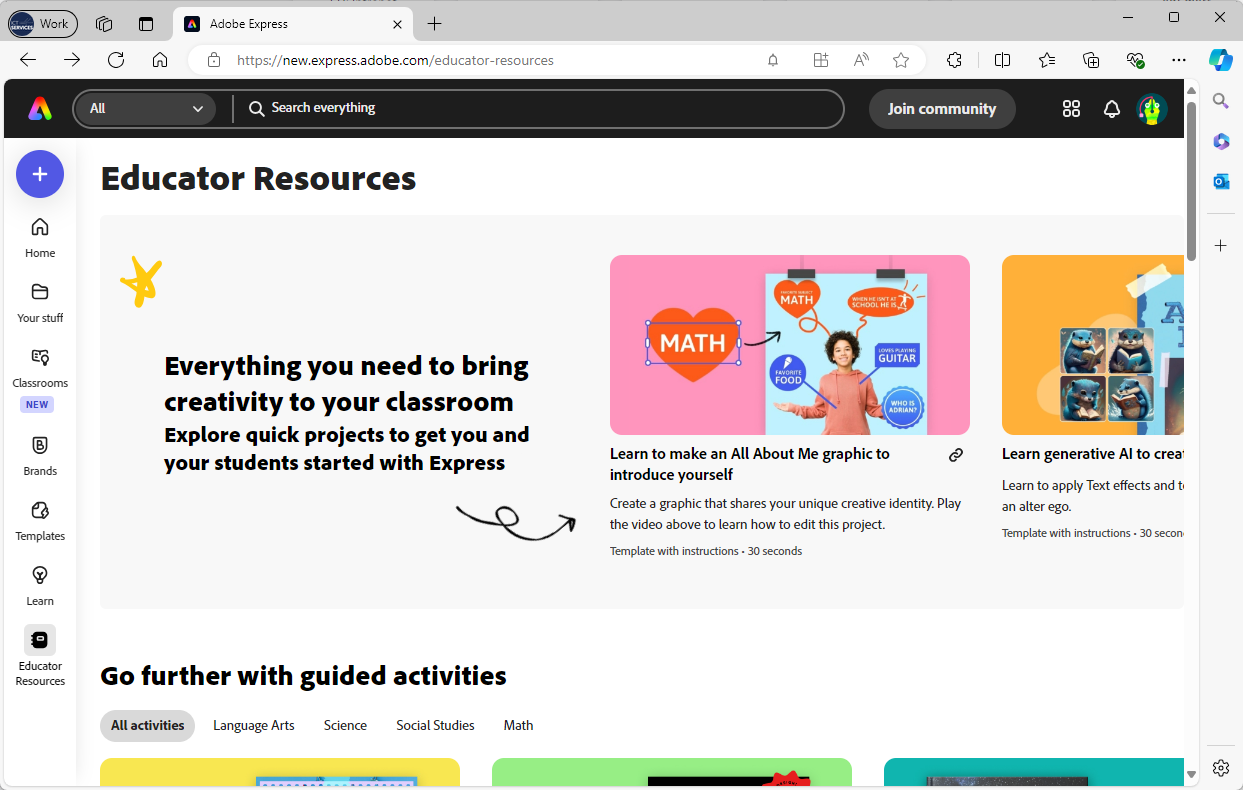
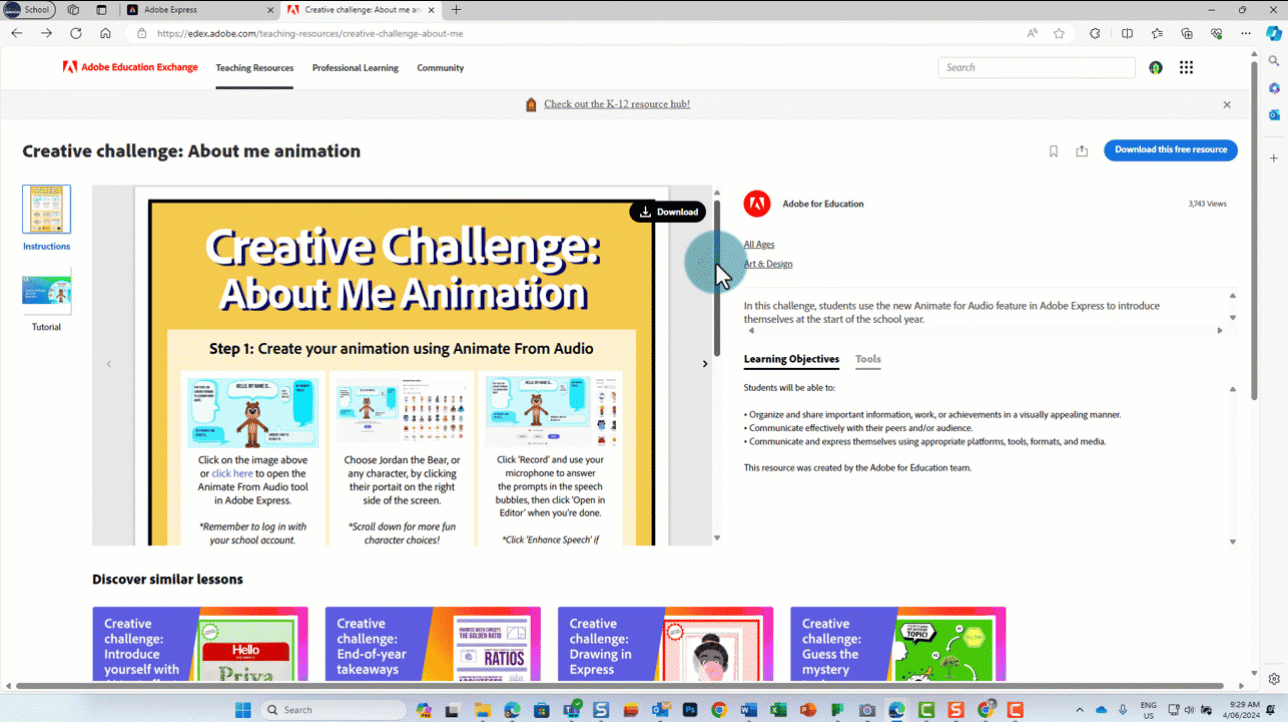
The Educator Resource section includes Adobe's Creative Education Challenges, classroom templates, and links to professional development and blog posts.
The Adobe Creative Education Challenges are released each month and are a package which includes an editable template and classroom activities. These are particularly useful if you would like to help get your students familiar with the different features of Adobe Express. They can be linked right across the curriculum or used as intro activities at the beginning of the year or end of year wrap ups. There are multiple challenges which can be adapted for all year levels.
Using and adapting templates
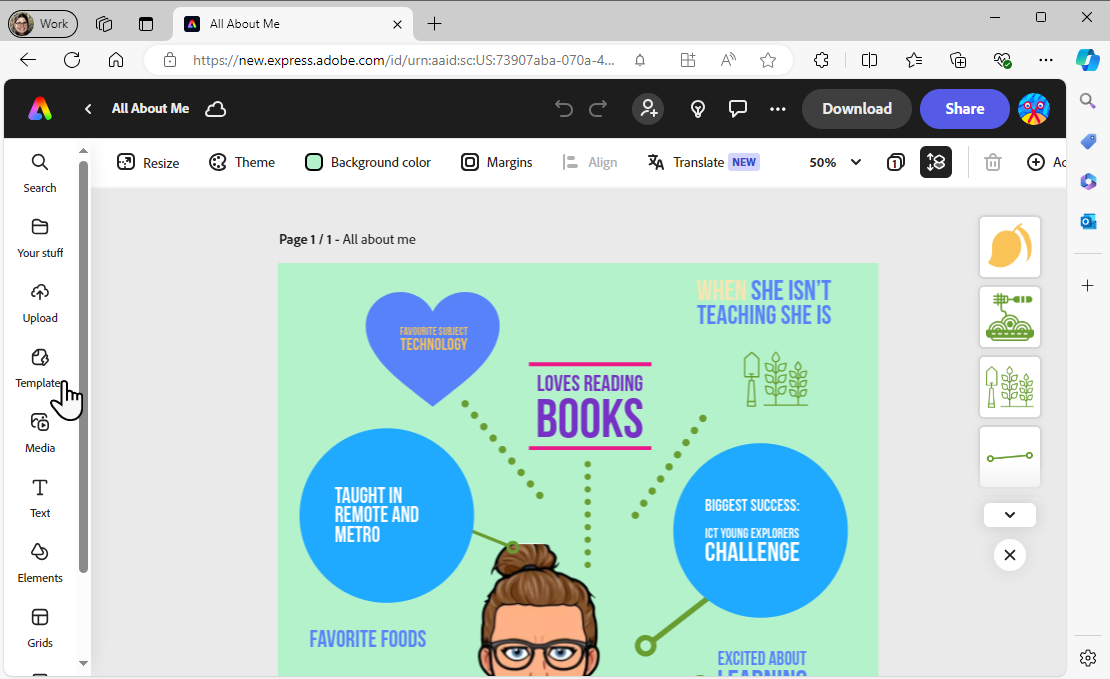
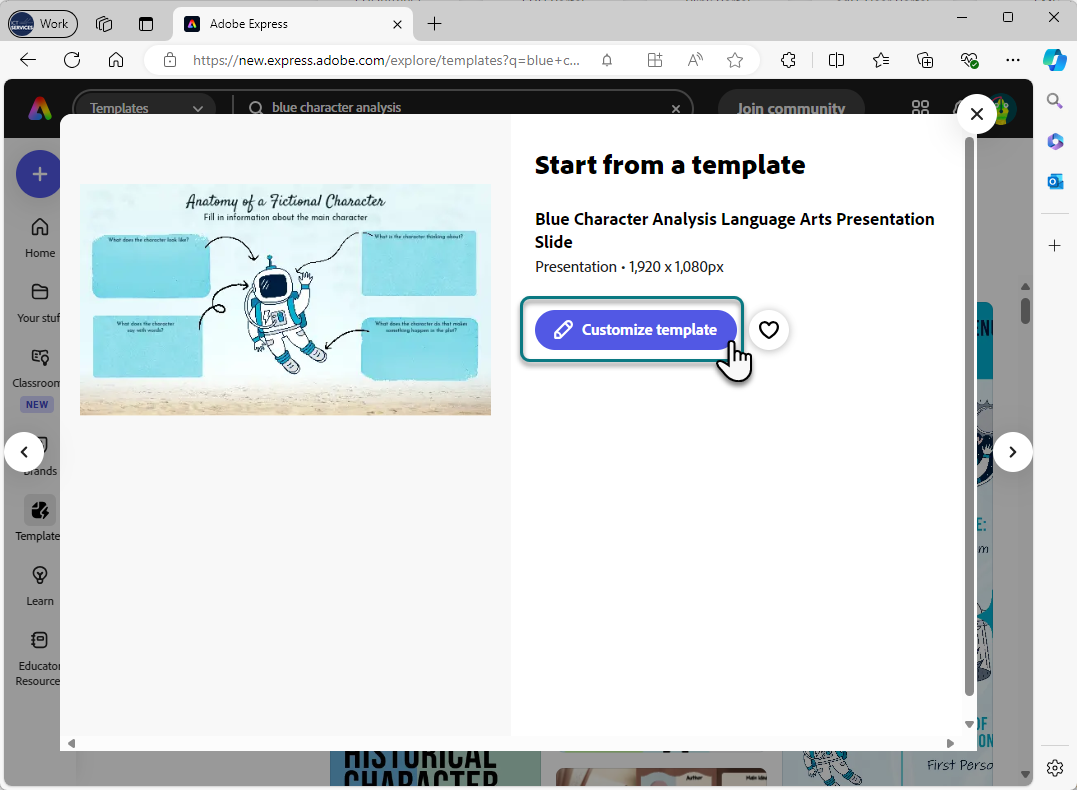
You can customise your chosen template before sharing it with your students. Here's how:
- Select the template and
- Select ‘Customize template’.
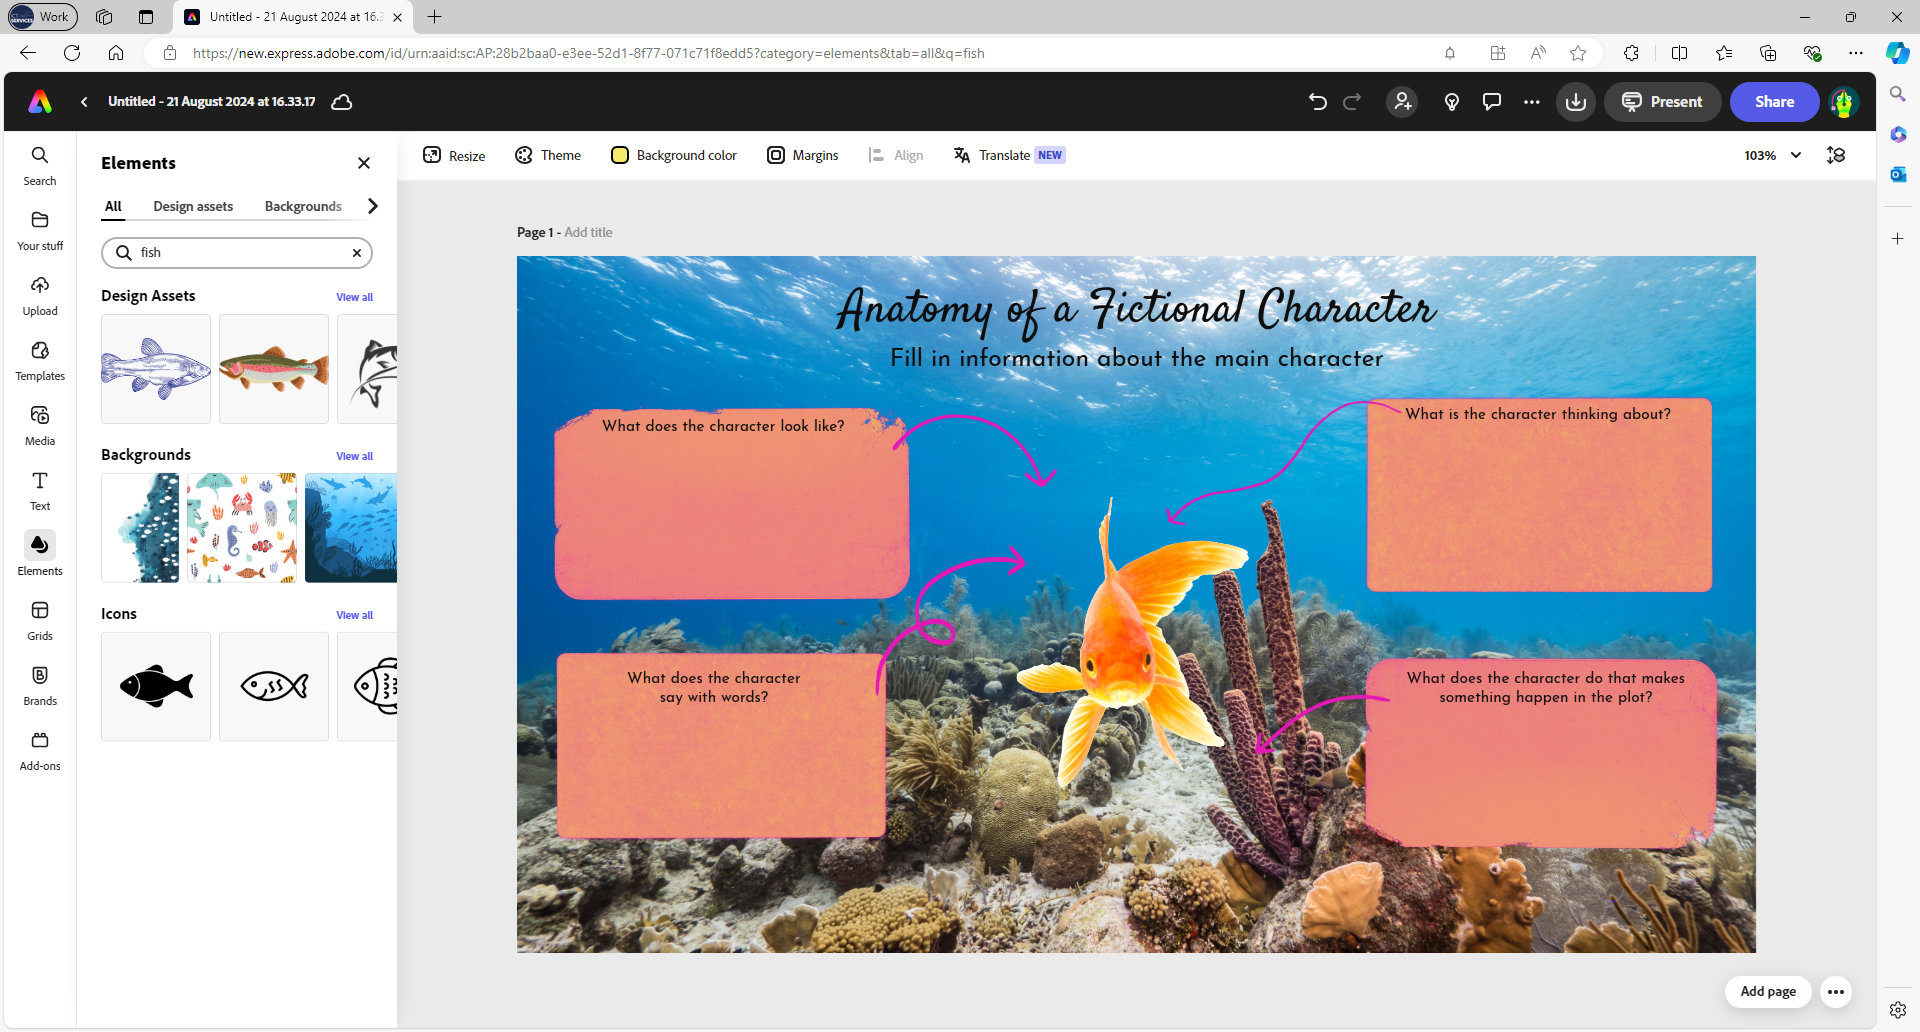
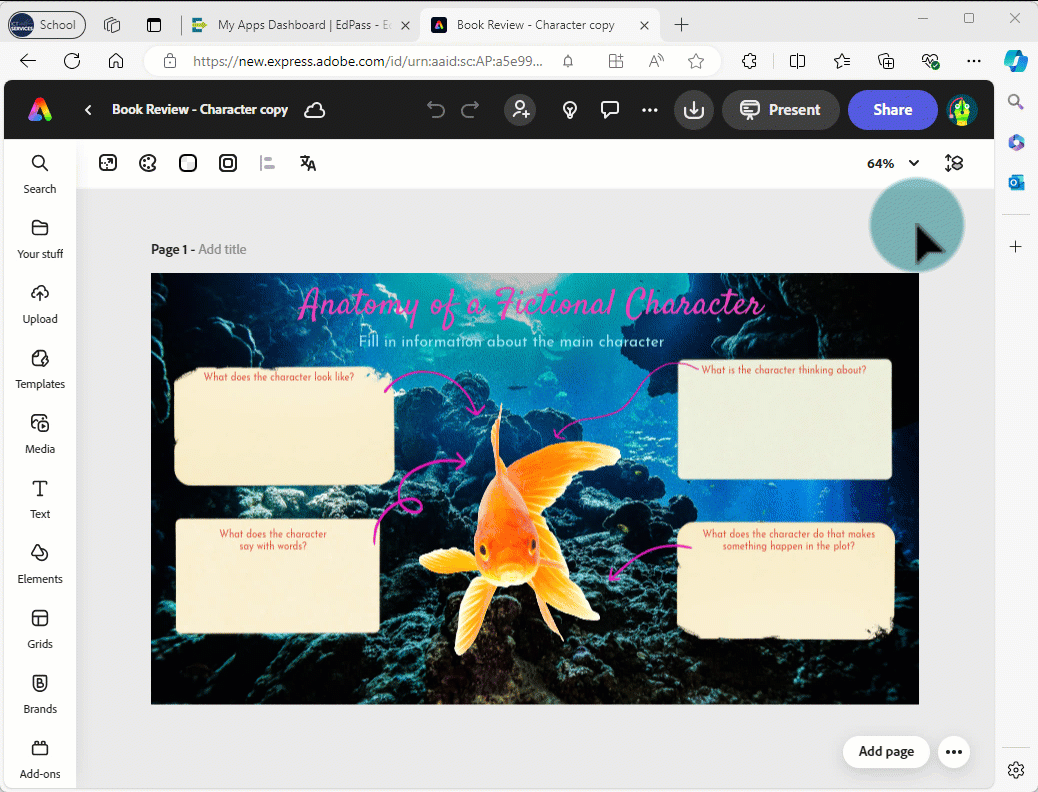
- Once it opens, you can modify the template by changing the colour theme, replacing images, editing text, and adding pages.
Sharing templates for students to use
You can share your customised template with your students. To share a copy they can complete and customise themselves:
- Select ‘Share’ in the top right.
- Select ‘Make template’.
- Select save to ‘Create a public template link’.
- Select ’ ‘Create template link’.
- Once the resource has been published, select ‘Share’.
- Change the access to ‘Anyone with the link’.
- Select ‘Copy the link’.
- Paste the link to provide it to your students.
Creating shared libraries
Consider setting up shared libraries for ongoing use of Adobe Express,. This keeps resources in one place, making it easier for students to find everything they need.
You will need a list of your students’ email addresses so that you can add them to the shared library.
Setting up a shared library
- Select ‘Your stuff’ from the side menu
- Select ‘Create new library’
- Name your library (for example: YYYY-subject/grade-Teacher)
- Begin adding content.
Once you have added some initial content you can share the library with your students.
Sharing a library
- Select the ‘+ People icon’ in the top right of the library menu
- Copy and paste your students’ email addresses
- Select ‘Invite to view and use’.
This method allows you to add customised templates directly to the library instead of distributing individual links.

Using templates or Educator Resources enables you to create visually engaging materials tailored to your students' needs with minimal time and effort.